Can you really remove nicotine stains from walls?
Yes. Surface nicotine and tar usually come off with the right degreaser and a bit of elbow grease, but the yellow-brown film you see is only half the problem. Persistent odour or nicotine that’s soaked into plaster and timber often needs sealing or professional restoration on top of a good scrub.
The fastest effective approach: test a hidden patch, do one spot clean to gauge how deep the staining goes, then commit to a full wash or call a professional based on what you find.
Your quick DIY starter kit:
- Sugar soap or TSP (trisodium phosphate)
- Microfibre cloths, plenty of them
- Two buckets (one wash, one rinse)
- A shellac-based stain-blocking primer for afterwards
A single wash typically lifts 60 to 80% of visible staining, which means most jobs need at least a second pass once the wall dries fully.
Table of Contents
- How to remove nicotine from walls: the tools that actually work
- What’s the step-by-step method for cleaning nicotine off walls?
- Why does the smell linger after the walls look clean?
- Do you need a special primer before repainting?
- What safety gear and testing do you actually need?
- When should you call a professional wall cleaning service instead?
- Get a Melbourne wall clean sorted without the guesswork
- Sources
How to remove nicotine from walls: the tools that actually work
Not every cleaner cuts through cured nicotine, and grabbing the wrong one wastes a Saturday. Here’s what belongs in your kit and why.
- TSP (trisodium phosphate) or phosphate-free TSP-PF: the strongest degreaser for this job. Professionals typically dilute it at around half a cup per gallon of warm water for heavy staining.
- Sugar soap: gentler than TSP, suited to moderate grime and safe on more finishes.
- Vinegar and dish soap: fine for light, recent residue, but they won’t touch cured tar.
- Dry-cleaning sponges: a chemical-free option for lifting loose soot before you introduce any water, useful on delicate finishes.
- Microfibre cloths and soft scrub brushes: for agitation without scratching paint.
- Shellac-based stain-blocking primer: non-negotiable if you’re repainting afterwards.
You’ll also want nitrile gloves, eye protection, and open windows before you start, especially when working with TSP.
Pro Tip: Buy more microfibre cloths than you think you need. Reusing a dirty cloth just smears nicotine back onto the wall instead of lifting it off.
What’s the step-by-step method for cleaning nicotine off walls?
The method changes depending on how bad the staining is, but the sequence stays the same: test, dry-clean, wet-clean, rinse, repeat.
Step 0: Test a hidden patch. Pick a spot behind a door or inside a cupboard. Apply your chosen cleaner, wait a few minutes, and check for paint lift or colour change before touching the rest of the wall.
Step 1: Dust and dry-sponge. Loose soot sits on the surface before you even add water. A dry-cleaning sponge lifts a surprising amount of it and stops you from smearing grime once you go wet.
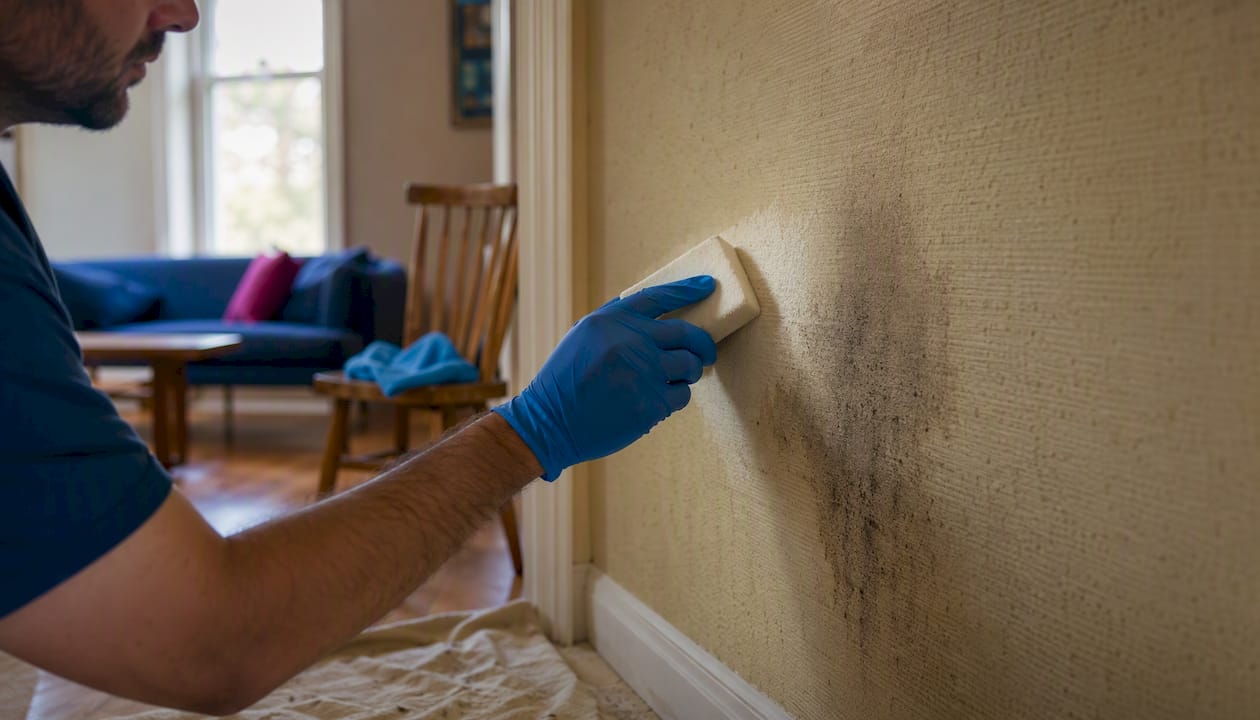
Step 2: Light stains. Mix warm water with a squeeze of dish soap and a splash of vinegar. Wipe gently, working in small sections, then rinse with a separate clean cloth. Vinegar is cheap and low-risk, but it only works on fresh, light residue, so if the wall still looks dull after this pass, move up a tier.
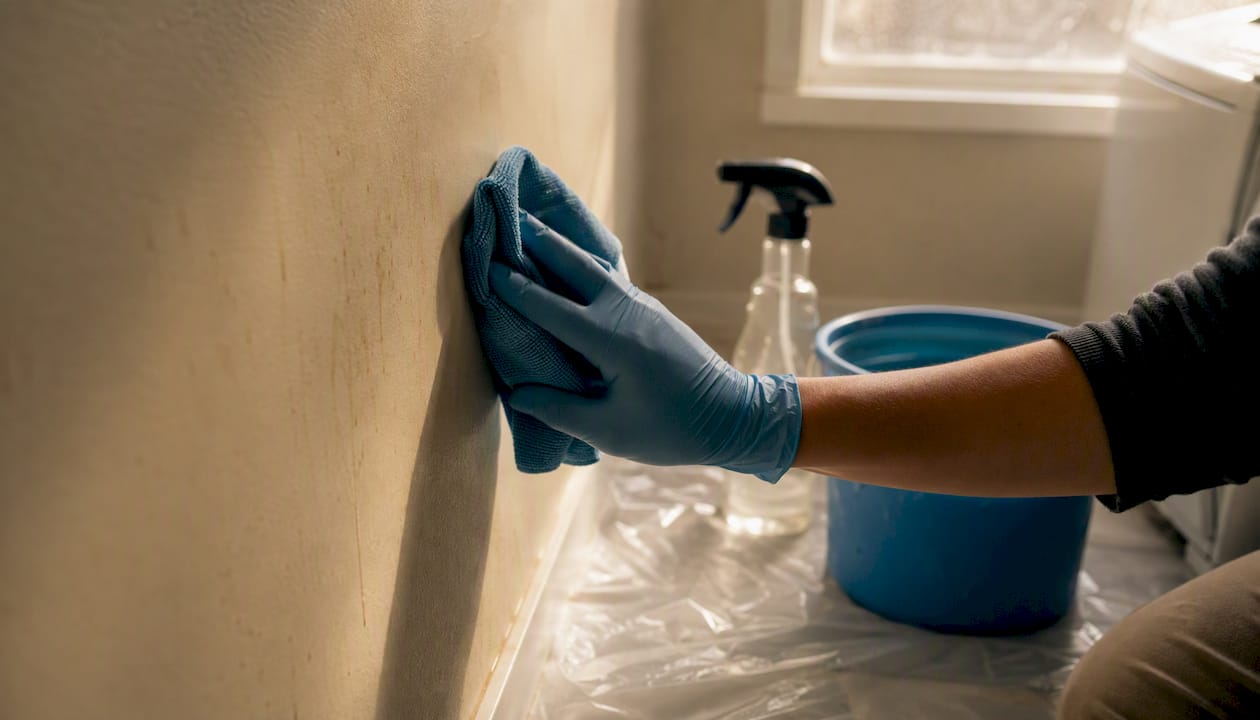
Step 3: Moderate stains. Dilute sugar soap per the label, apply with a soft brush, and agitate rather than just wipe. Rinse frequently and change your water often to stop redepositing soot back onto clean patches. Let the wall dry fully between passes rather than judging results on a wet surface, since wet nicotine residue often looks lighter than it will once dry.
Step 4: Heavy stains. This is where TSP earns its reputation. Mix about half a cup per gallon of warm water, apply with a sponge or soft brush, then rinse with clean water on a separate cloth. Repeat until the rinse cloth stops coming away yellow. University extension guidance backs this same escalation: start gentle, only escalate to TSP if the stain won’t shift.
A few things separate a clean result from a patchy one:
- Work bottom to top. Drips from a top-down clean streak dirty rinse water down over patches you’ve already cleaned.
- Change your rinse water the moment it turns cloudy, not once it’s fully brown.
- Let each section dry before deciding whether it needs another pass, since most residue that survives a first wash needs a second cleaning after full drying, not a heavier chemical.
- Do ceilings and cornices last. They collect the most nicotine but are also the easiest to streak if you’re dripping from below.
If you’d rather protect painted finishes while you work through this, our guide on cleaning painted walls without damaging the paint covers technique in more detail.
Why does the smell linger after the walls look clean?
Nicotine and tar don’t just sit on top of paint. They bond to the surface and, given enough time, penetrate into plaster, timber and other porous materials where a cloth and bucket simply can’t reach.
That’s the gap between “looks clean” and “smells clean.” You can scrub a wall until it’s visibly spotless and still catch a whiff of stale smoke a week later, because the odour source has migrated below the surface.
Home measures that genuinely help, with honest limits:
- Ventilation: days of open windows, not hours, for real odour reduction.
- Activated charcoal placed in the room to absorb airborne compounds over time.
- Baking soda on soft surfaces, left to sit before vacuuming.
- Enzyme-based odour neutralisers, which break down odour molecules rather than masking them.
Restoration authorities are consistent on this point: home remedies like vinegar and baking soda help with light cases, but heavy smoke damage and stubborn odour usually call for professional treatment. Ozone generators, hydroxyl treatment and thermal fogging can reduce odour meaningfully, but they need trained operators and aren’t a guaranteed fix once nicotine is embedded deep in building materials.
If you’ve washed a wall twice and it still smells like an ashtray in humid weather, that’s your signal to stop DIYing and get a proper assessment. Our piece on smoke soot removal from walls walks through what that assessment usually involves.
Do you need a special primer before repainting?
Skipping the stain-blocking primer is, by a wide margin, the mistake that ruins repaint jobs on nicotine-stained walls. Paint yourself onto a “clean” wall without one and the tannins in nicotine will bleed straight through your fresh coat within weeks, sometimes days.
Shellac-based primers are the standard professionals reach for because they seal in a way water-based and even oil-based primers often can’t match on this specific stain type.
The workflow that holds up:
- Clean thoroughly using the staged method above.
- Let the wall dry completely, ideally overnight, before touching it with primer.
- Apply shellac-based primer, and for heavily stained walls, put down two coats rather than one since a single coat risks bleed-through on the worst patches.
- Finish with two coats of quality paint once the primer has cured.
Wallpapered walls need the paper stripped first; primer over old paper just seals the problem in rather than solving it. Damaged or crumbling plaster should be patched before priming, not after. For technique on getting even coverage over stained or dark surfaces, this guide to painting over dark walls is a solid companion read.
Pro Tip: If you can still smell smoke after the wall is dry and before you prime, don’t paint yet. Sealing in an odour source just traps the smell behind a fresh coat.
What safety gear and testing do you actually need?
TSP is alkaline and will irritate skin and eyes, so nitrile gloves and eye protection aren’t optional. A mask rated for fine particles is worth wearing too, particularly in an enclosed room with limited airflow.
Open windows and run a fan before you start, not after you notice the fumes.
Before committing to a full wall, test your chosen cleaner on a hidden patch, wait a few minutes, and check for paint lift, colour shift or texture change. Note what worked so you’re not re-testing room by room.
Rinse water and used cloths carry chemical residue once you’ve worked with TSP. Dispose of them down a drain with plenty of water flush, not onto garden beds or stormwater.
When should you call a professional wall cleaning service instead?
Some jobs are DIY-friendly. Others aren’t, and knowing the difference saves you from repainting a wall twice.
Book a professional when you’re dealing with a large area of heavy staining, when plaster or exposed timber has clearly absorbed odour rather than just surface residue, or when you’ve already run through two or three cleaning passes and the smell persists in humid conditions. Rental properties handed back by long-term smoking tenants almost always fall into this category.
What a professional service does differently:
- Industrial-strength degreasers matched to the substrate, not a one-size-solution.
- Repeat deep cleaning cycles rather than a single pass.
- Odour-specific treatment separate from the visual clean.
- Proper sealing prep before any repaint goes ahead.
Nicotine that has migrated into porous plaster or timber often can’t be fully addressed by surface cleaning alone. It typically needs sealing, and in severe cases, replacing the affected material altogether.
When you’re gathering quotes, ask specifically what degreaser they use, whether the price includes a second pass if the first doesn’t fully clear the odour, and whether sealing or priming prep is included or billed separately. Com’s wall cleaning service for homes and offices covers exactly this scope, and for properties with broader smoke damage, our professional restoration guide sets out what a full job typically involves.
Common mistakes and what actually works
Most people fail at this task the same way: they clean once, judge the result while the wall is still wet, and skip the primer because the wall “looks fine” once it dries. It never stays fine. If you take one piece of advice from this whole article, make it this: never paint over nicotine staining without a shellac-based primer underneath, full stop.
For a heavily smoked-in home, don’t expect a single weekend to sort it. Budget for two cleaning passes and accept that some rooms may need a professional odour assessment before you pick up a paint roller. If you’re unsure where your walls sit on that spectrum, an inspection through Com’s wall cleaning page will tell you faster than another trip to the hardware store.
— Roney
Removing nicotine from walls almost always comes down to the right degreaser, repeated cleaning until the rinse water runs clear, and a shellac-based primer before any paint goes back on.
Get a Melbourne wall clean sorted without the guesswork
Com handles the part of this job that trips up most DIY attempts: pulling nicotine residue out of porous plaster and timber, not just off the painted surface, using eco-friendly, chemical-free methods and equipment most home cleaning kits don’t have access to.

If you’ve already tried a wash or two and the wall still smells faintly of smoke, or you’re a property manager staring down a heavily smoked-in rental before the next tenant moves in, that’s precisely the situation our trained and insured team deals with regularly across Melbourne. We assess whether you’re looking at a surface clean or something that’s soaked into the substrate, then treat it accordingly instead of guessing. For end-of-lease turnovers specifically, pairing a wall clean with our end-of-lease cleaning checklist covers the full handover in one booking. Get in touch through our wall cleaning Melbourne page for a quote, and find out exactly what your walls need before you buy a single tin of primer.
Sources
- Nicotine stains: Complete removal guide for walls, hands, and surfaces – D and G Flooring
- AU | Household | Stains | Smoke and soot – Simple Green
- Remove stains from nicotine – University of Georgia extension
- How to help remove nicotine stains from walls – SERVPRO
