How to clean a white fabric chair safely
Cleaning a white fabric chair correctly is the difference between a fresh, bright seat and a permanently stained one. The key is knowing your fabric type before you touch it with any liquid. Fabric cleaning codes on care tags, labelled W, S, W/S, or X, dictate exactly which cleaning agents are safe. Use the wrong one and you risk shrinkage, dye migration, or fibre damage that no amount of scrubbing will fix. This guide walks you through how to clean white fabric chair upholstery using the right tools, proven DIY solutions, and techniques that protect the fabric every step of the way.
How to read cleaning codes on your fabric chair
The care tag on your chair is the most important piece of information you have. Most tags sit under the seat cushion or on the underside of the chair frame. Before you reach for any cleaner, find it and read it.
The four codes break down like this:
- W — Water-based cleaners only. This is the most common code on fabric chairs and means you can safely use water, dish soap, or diluted vinegar solutions.
- S — Solvent-based cleaners only. Water will cause water spots and shrinkage on these fabrics. Use dry-cleaning solvents instead.
- W/S — Either water or solvent-based cleaners are safe. You have the most flexibility here.
- X — Vacuum only. No liquid of any kind. Applying moisture to an X-coded fabric risks permanent damage.
Ignoring these codes is the single most common cause of ruined upholstery. A chair labelled S that gets treated with a water and vinegar solution can shrink, pucker, or develop permanent water rings. The code exists because the manufacturer tested the fabric. Trust it.
Pro Tip: Always spot test any cleaner on a hidden patch of fabric, such as the back corner near the base, and wait 10 minutes before proceeding. If the colour holds and the fabric feels normal, you are safe to continue.
What tools and solutions do you need?
The right kit makes the whole process faster and safer. You do not need specialist products for most white fabric chairs. The following tools cover routine cleaning and stain treatment.
- Vacuum with an upholstery brush attachment — removes loose dirt and debris before any moisture is introduced. Vacuuming first prevents dry particles from turning into mud when wet.
- Microfiber cloths — soft enough to blot without damaging fibres. Have at least three on hand: one for applying solution, one for rinsing, and one dry cloth for blotting.
- Soft-bristle brush — useful for working solution gently into textured weaves without scrubbing aggressively.
- Spray bottle — controls how much liquid you apply. Misting is always safer than pouring.
- Oxygen-based bleach — the correct choice for set-in or dye-transfer stains on white fabric. It lifts colour without the yellowing risk that chlorine bleach causes.
For your DIY cleaning solution, combine 1 tablespoon dish soap, 1 tablespoon white vinegar, and 2 cups cool water. This mixture is gentle enough for most W-coded fabrics and effective against everyday grime, food marks, and light staining.
Never use chlorine bleach on white fabric chairs. Despite the logic of using bleach on white material, chlorine bleach degrades fabric fibres and causes yellowing over time. Oxygen-based bleach is the colour-safe alternative for stubborn stains.
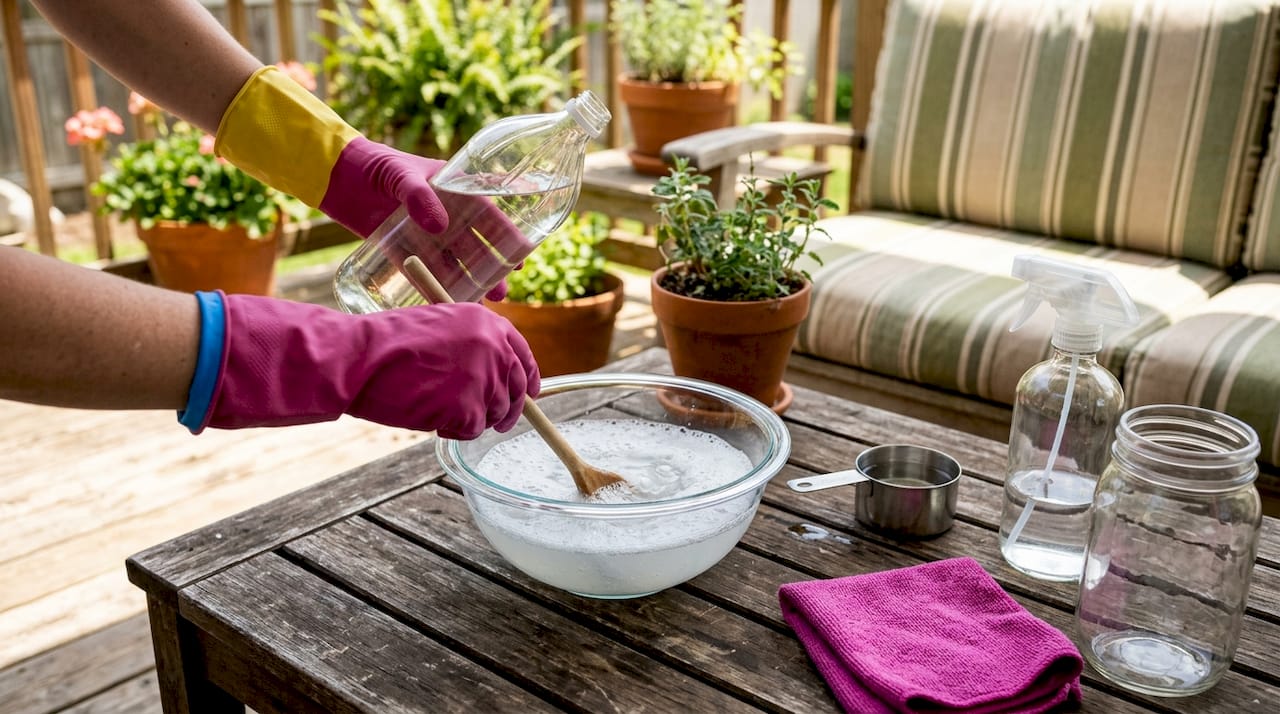
Pro Tip: Keep a dedicated upholstery cleaning kit in a small basket or bag near your living area. Quick access means you can treat a spill within minutes, before it sets into the fabric.
Step-by-step guide to cleaning white fabric upholstery
Work through these steps in order. Skipping preparation steps is where most DIY attempts go wrong.
-
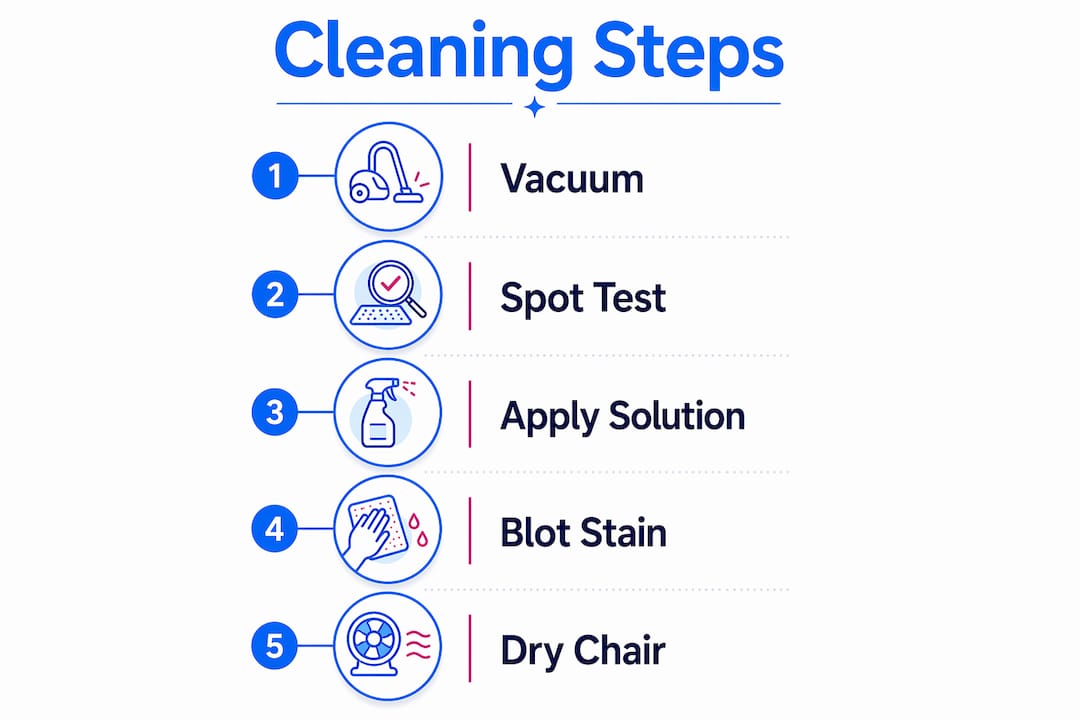
Vacuum thoroughly. Use the upholstery brush attachment and work slowly across every surface, paying attention to seams, crevices, and the area where the seat meets the backrest. Loose dirt left behind will turn to mud the moment moisture touches it.
-
Spot test your cleaner. Apply a small amount of your chosen solution to a hidden area. Wait 10 minutes and check for colour change, shrinkage, or texture change. Only proceed if the fabric looks and feels unchanged.
-
Apply the cleaning solution sparingly. Mist the surface lightly with your spray bottle or apply with a damp microfiber cloth. The fabric should feel damp, not wet. Excess water saturation risks mildew growth, water rings, and damage to the chair frame underneath.
-
Blot, never scrub. Press a clean microfiber cloth firmly onto the stained area and lift. Repeat with a fresh section of cloth each time. Scrubbing damages fibres and pushes stains deeper into the weave, making them harder to remove.
-
Treat stubborn stains with oxygen-based bleach. Mix according to the packet instructions and apply carefully to the stained area only. Leave it for 5–10 minutes, then blot with a damp cloth to neutralise. Repeat if the stain is still visible after drying. For particularly tough marks, home remedy approaches using baking soda paste can also help lift residue before applying bleach.
-
Rinse with a plain damp cloth. Wipe the cleaned area with a cloth dampened in plain cool water. This removes soap residue. Leaving soap behind attracts new dirt and causes the chair to re-soil faster than before cleaning.
-
Blot excess moisture. Press a dry microfiber towel firmly onto the damp area and hold for several seconds. Repeat across the cleaned surface to draw out as much moisture as possible before drying.
-
Air-dry fully. Place the chair in a well-ventilated room and use a fan to circulate air. Fans and good airflow prevent mildew growth and stop wicking stains from forming as the fabric dries. Never use a hairdryer or place the chair in direct sunlight, as heat can set stains and weaken fabric fibres.
| Step | Action | Key risk to avoid |
|---|---|---|
| 1. Vacuum | Remove all loose debris | Skipping this creates mud stains |
| 2. Spot test | Test cleaner on hidden area | Colour damage or shrinkage |
| 3. Apply solution | Mist lightly, blot gently | Over-saturation and water rings |
| 4. Treat stains | Oxygen bleach for set-in marks | Using chlorine bleach, which yellows fabric |
| 5. Rinse | Plain damp cloth to remove soap | Residue re-soiling the fabric |
| 6. Dry | Fan-assisted air drying | Mildew from poor ventilation |
Pro Tip: If the stain is still faintly visible after the first full treatment, let the chair dry completely before attempting a second round. Treating damp fabric again compounds moisture and increases the risk of water rings.
Common mistakes that damage white fabric chairs
White fabric shows every error in technique. The mistakes below are the most common, and most are easy to avoid once you know what to watch for.
- Over-saturating the fabric. Fabric chairs are porous and cannot drain excess moisture the way hard surfaces can. Too much liquid soaks through to the padding and frame, creating the conditions for mildew and structural damage.
- Scrubbing instead of blotting. Aggressive scrubbing permanently sets stains and breaks down the fabric weave. Blotting is the only safe technique for white chair stain removal.
- Using chlorine bleach. It seems logical on white fabric, but chlorine bleach causes yellowing and fibre degradation. Oxygen-based bleach is the correct substitute.
- Drying in a closed, humid room. Poor ventilation after cleaning leads to mildew growth inside the padding. The chair may smell clean on the surface but develop a musty odour within days.
- Ignoring the care code. Using water on an S-coded fabric or any liquid on an X-coded chair causes damage that cannot be reversed at home.
“The drying phase deserves as much attention as the cleaning itself. A chair that is cleaned correctly but dried poorly will develop mildew, wicking stains, and odours that are far harder to treat than the original mark.”
Regular vacuuming is the most effective preventative step you can take. Vacuuming weekly stops dirt from embedding into the fabric weave, which means less intensive cleaning is needed over time. Think of it as the maintenance that makes deep cleaning easier and less frequent.
When a stain does not respond after two full treatment cycles, or when the fabric shows signs of discolouration from previous cleaning attempts, professional upholstery cleaning services are the right next step. Professionals use extraction equipment that removes both the stain and the cleaning solution residue, which DIY methods rarely achieve completely.
Key takeaways
Cleaning white fabric chairs safely requires reading the care code first, using the correct solution, blotting rather than scrubbing, and drying thoroughly with good airflow.
| Point | Details |
|---|---|
| Read the care code first | The W, S, W/S, or X code on the tag determines which cleaners are safe to use. |
| Use oxygen bleach for stains | Oxygen-based bleach removes set-in marks on white fabric without causing yellowing. |
| Blot, never scrub | Scrubbing damages fibres and embeds stains deeper into the weave. |
| Control moisture carefully | Mist lightly and blot dry to prevent water rings, mildew, and frame damage. |
| Dry with fan-assisted airflow | Good ventilation after cleaning prevents mildew and wicking stains from forming. |
What I have learned from years of upholstery care
White fabric chairs are not as fragile as people assume. They are, however, unforgiving of shortcuts. The homeowners I see with permanently stained or yellowed chairs almost always made the same two mistakes: they skipped the care code check, and they scrubbed.
The care code is not a suggestion. It is the result of the manufacturer testing that specific fabric against different cleaning agents. Spending 30 seconds finding the tag saves hours of trying to reverse damage that, in many cases, cannot be reversed at all.
Patience is the other factor that separates a good result from a ruined chair. Letting a spot test sit for the full 10 minutes, blotting slowly instead of rubbing hard, and waiting for the chair to dry completely before assessing the result. These are not complicated steps. They just require slowing down.
The homeowners who maintain their white fabric chairs best are the ones who treat cleaning as a routine rather than a crisis response. A quick vacuum each week and a small upholstery kit within reach means spills get treated in minutes rather than hours. That window matters enormously for white fabric, where a fresh spill blots out cleanly and a dried one requires a full treatment cycle.
For renters especially, understanding how to care for upholstered furniture is worth the effort. A well-maintained white fabric chair at the end of a lease is an asset. A stained one is a deduction.
— Roney
Professional upholstery cleaning for white fabric chairs in Melbourne
Some stains go beyond what DIY methods can fully resolve. Dye transfer from denim, old set-in marks, or fabric that has been over-saturated in a previous cleaning attempt often needs professional extraction to restore properly.

Com provides professional upholstery cleaning in Melbourne for white fabric chairs and other upholstered furniture. The team uses extraction equipment that removes both the stain and any residual cleaning solution, which prevents re-soiling and leaves fabric cleaner for longer. For chairs that need more than a DIY approach, same-day upholstery cleaning is available across Melbourne. Contact Com to book an assessment or arrange a clean that complements your regular home maintenance routine.
FAQ
What does the W code mean on a fabric chair?
The W code means water-based cleaners are safe to use. You can apply solutions made with water, dish soap, or diluted white vinegar on W-coded fabric chairs.
Can I bleach a white fabric chair?
Chlorine bleach is not safe for white fabric chairs because it causes yellowing and breaks down fibres over time. Use oxygen-based bleach instead for set-in stains on white upholstery.
How do I remove denim dye transfer from a white chair?
Apply a diluted oxygen-based bleach solution to the affected area, leave it for 5–10 minutes, then blot with a damp cloth. Repeat the treatment after the fabric dries fully if the stain remains.
How do I stop my white fabric chair from going yellow?
Avoid chlorine bleach, direct sunlight during drying, and heat sources near the fabric. Use oxygen-based bleach for stain treatment and always dry the chair in a shaded, well-ventilated area.
How often should I clean a white fabric chair?
Vacuum white fabric chairs weekly to prevent dirt from embedding into the weave. Spot clean spills immediately and do a full deep clean every three to six months depending on use.
