Avoid Failed Grout Seals in Australia: Wait 24–48 Hours, Use Bead Test
Yes, you should seal grout after cleaning, but only once it’s fully clean and bone dry. Sealing damp or dirty grout traps moisture and contaminants under the surface, which causes the sealer to fail early. Wait 24 to 48 hours after cleaning, check the label for your product’s specific cure time, then use a penetrating sealer on cement-based grout and confirm success with a simple water-bead test.
TL;DR:
- Wait at least 24 to 48 hours after cleaning and ensure the grout is fully dry before sealing to prevent early sealer failure.
- Use a water-bead test after the curing period to confirm the sealer’s effectiveness; beads indicate proper sealing, while absorption means reapplication is needed.
- Avoid sealing over dirty, stained, or damp grout, as this traps contaminants or moisture and compromises the sealer’s performance.
- Choose penetrating sealers for most interior cement-based grout to protect without altering appearance, reserving surface sealers for light-traffic or aesthetic purposes.
- Reseal grout annually in high-moisture areas such as showers, with the water-bead test guiding the timing rather than fixed intervals.
Table of Contents
- What tools and materials do you need to seal grout properly?
- How do you seal grout step by step after cleaning?
- How long after cleaning should you wait before sealing grout?
- Which grout sealer should you choose?
- How do you know if the sealer actually worked?
- How often should you reseal grout?
- What are the most common grout sealing mistakes?
- When is it worth booking a professional grout clean and reseal?
- Why realistic drying times matter more than the sealer you buy
- Sources
What tools and materials do you need to seal grout properly?
Before you open a bottle of sealer, get everything laid out. Running back to the hardware store halfway through a job is how corners get cut.
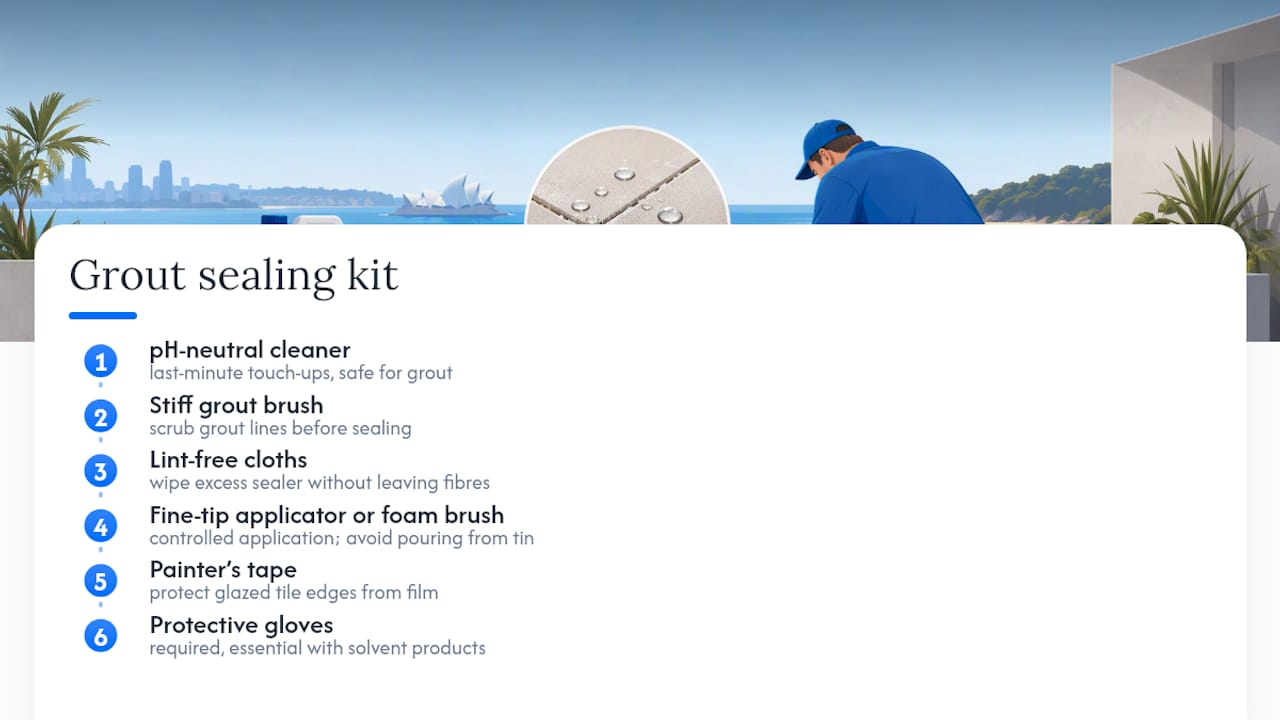
You’ll need a pH-neutral cleaner for any last-minute touch-ups, a stiff grout brush, and a stack of lint-free cloths for wiping excess sealer. An applicator bottle with a fine tip or a small foam brush gives you far more control than pouring sealer straight from the tin, and painter’s tape along tile edges keeps sealer off the glazed surface where it can leave a dull film. Gloves are non-negotiable, especially with solvent-based products.
On sealer type, you’re choosing between two categories: penetrating (impregnating) sealers that soak into the grout without changing how it looks, and surface or topcoat sealers that sit on top and form a film. Mapei’s own guidance notes that sealing isn’t strictly compulsory for grout, but it’s a sound maintenance step, and penetrating sealers are the common choice because they protect without altering appearance. Water-based formulas are low-odour and easy to clean up; solvent-based versions generally resist stains harder in high-traffic areas. Always check the label against your grout: cement-based and epoxy grouts don’t always take the same product.
How do you seal grout step by step after cleaning?
Once your grout is clean and everything’s laid out, the actual sealing process is fast. Getting the order right matters more than moving quickly.
- Inspect first. Look for cracked, crumbling, or missing grout lines and repair them before sealing. Sealer over damaged grout just locks the damage in place.
- Deal with efflorescence and stains. That chalky white bloom or any stubborn discolouration needs to come off now, because sealer will lock it in permanently once applied.
- Confirm the grout is completely dry. Press a white cloth against a joint. If it darkens, there’s still moisture underneath, and you need to wait longer.
- Tape the tile edges. A few strips of painter’s tape either side of the grout line saves you from a hazy film on glazed tiles.
- Apply the sealer to the grout only, working in small sections with the applicator bottle or brush.
- Wait the labelled dwell time, usually a few minutes, then wipe off any excess with a clean cloth before it dries on the surface.
- Apply a second coat if the grout drank up the first one quickly, which is common with older or more porous grout.
- Ventilate the room and leave the surface untouched for the period stated on the label before returning to normal use.
Pro Tip: Work in small sections rather than sealing an entire bathroom floor in one pass. Sealer that sits too long before wiping dries hard and leaves a cloudy residue that’s genuinely painful to remove.
How long after cleaning should you wait before sealing grout?
This is where most DIY jobs go wrong, and it’s almost always down to impatience rather than a bad product.
Most manufacturers and trade guides recommend waiting between 24 and 48 hours after cleaning before applying sealer, giving residual moisture time to evaporate out of the grout. That window stretches in bathrooms, laundries, or any space with poor airflow or natural shade. New grout installations often need longer again, so always check the manufacturer’s specific instructions rather than assuming the standard window applies.
Dry-to-touch and fully cured are two different things. Grout can feel dry on the surface within a few hours while still holding moisture deeper in the joint, which is exactly why the “bone dry” test matters: if a cloth pressed against the grout darkens at all, it’s not ready. Just Seal It’s guidance puts the same principle plainly, saying humid climates can push that drying window past 48 hours, and it’s better to wait an extra day than seal too early. A few things that stretch drying time:
- Poor ventilation or no exhaust fan running
- Grout in shaded, south-facing, or below-ground rooms
- Recently regrouted areas or thicker grout lines
- Cooler temperatures, which slow evaporation generally
Run a fan, crack a window, or point a portable dehumidifier at the room if you’re on a deadline. Don’t seal early to save time.
Which grout sealer should you choose?
Your choice comes down to your grout type, the room, and how much finish change you’re willing to accept.
For most interior cement-based grout, a penetrating sealer is the safer default. It soaks into the porous joint, blocks moisture and staining from getting in, and leaves the grout looking exactly as it did before. A surface sealer builds a thin protective film on top, which can add a subtle sheen and slightly deeper colour. That’s fine in low-traffic areas but tends to show wear faster on floors that get foot traffic every day.
- Water-based penetrating sealer: low odour, easy application, good for bathrooms and kitchens
- Solvent-based sealer: stronger stain resistance, better suited to heavy-use commercial floors or entryways
- Surface/topcoat sealer: best where a slight sheen change is acceptable and traffic is light
- Epoxy or polymer grout: check the label carefully, since many standard sealers aren’t designed for these and can fail to bond properly
Mapei’s technical notes make an important point worth setting your expectations by: sealing extends how long you have to wipe up a spill before it stains, it doesn’t make grout waterproof. If a product promises grout will never absorb anything again, be sceptical.
How do you know if the sealer actually worked?
Skip guesswork here. The water-bead test takes thirty seconds and tells you exactly where you stand.
Once the sealer has fully cured per the label, drop a few beads of water onto a sealed grout line and watch what happens. If the water sits up in beads on the surface, the seal is doing its job. If it soaks in and darkens the grout within a minute or two, the sealer either didn’t apply evenly or hasn’t cured properly yet, and you’ll need to reapply. Build-Construct’s application guide recommends this exact drop test as the standard check after the labelled cure window has passed.
- Beading water: sealer is working, no action needed
- Water absorbing or darkening grout: reapply sealer to that section
- Hazy or cloudy residue: buff with the cleaner the manufacturer recommends for that product
- Persistent haze after buffing: the sealer may need stripping and reapplying
Always test a small, hidden patch first when trying a sealer brand for the first time, particularly on coloured or textured grout.
How often should you reseal grout?
Resealing isn’t a once-and-done job. How often depends heavily on where the grout lives and what it copes with day to day.
Showers and any exterior tile exposed to weather need resealing roughly once a year, since constant moisture and UV exposure break sealers down faster than anywhere else in the house. High-traffic indoor floors, like kitchens and entries, typically hold up for one to two years. Low-traffic areas such as spare bathrooms or formal living spaces can often stretch to two or three years between applications.
- Run the water-bead test once a year to check if resealing is actually due, rather than sealing on a fixed calendar
- Stick to pH-neutral cleaners for routine maintenance
- Avoid bleach and acidic cleaners, which break down sealer chemistry and shorten its working life
- Reseal sooner in wet areas that show visible staining or water absorption between scheduled checks
Groutastic’s homeowner guide treats the bead test as the single most practical way for homeowners to judge reseal timing themselves, rather than relying on a generic interval.
What are the most common grout sealing mistakes?
Most sealing failures trace back to one of a handful of avoidable errors, and nearly all of them happen before the sealer even touches the grout.
Sealing over grime, soap scum, or mould locks those contaminants in permanently, and no amount of sealer will fix that later without stripping it back off. Sealing before the grout is properly dry is the second big one, causing poor adhesion and a cloudy haze that’s genuinely frustrating to correct. Humid bathrooms need extra drying time, not the same 24 hours you’d use in a well-ventilated hallway.
- Sealing dirty or stained grout instead of cleaning thoroughly first
- Applying sealer before the grout is fully dry, not just dry to touch
- Skipping the water-bead test and assuming the sealer worked
- Using an acidic or bleach-based cleaner on newly sealed grout
Pro Tip: If you get haze after sealing, try the manufacturer’s recommended cleaner and a soft buffing pad before assuming the job’s ruined. Most haze lifts with the right product; full strip-and-reseal is a last resort.
When is it worth booking a professional grout clean and reseal?
Some jobs are genuinely manageable on a Saturday afternoon. Others aren’t, and knowing the difference saves you a second attempt.
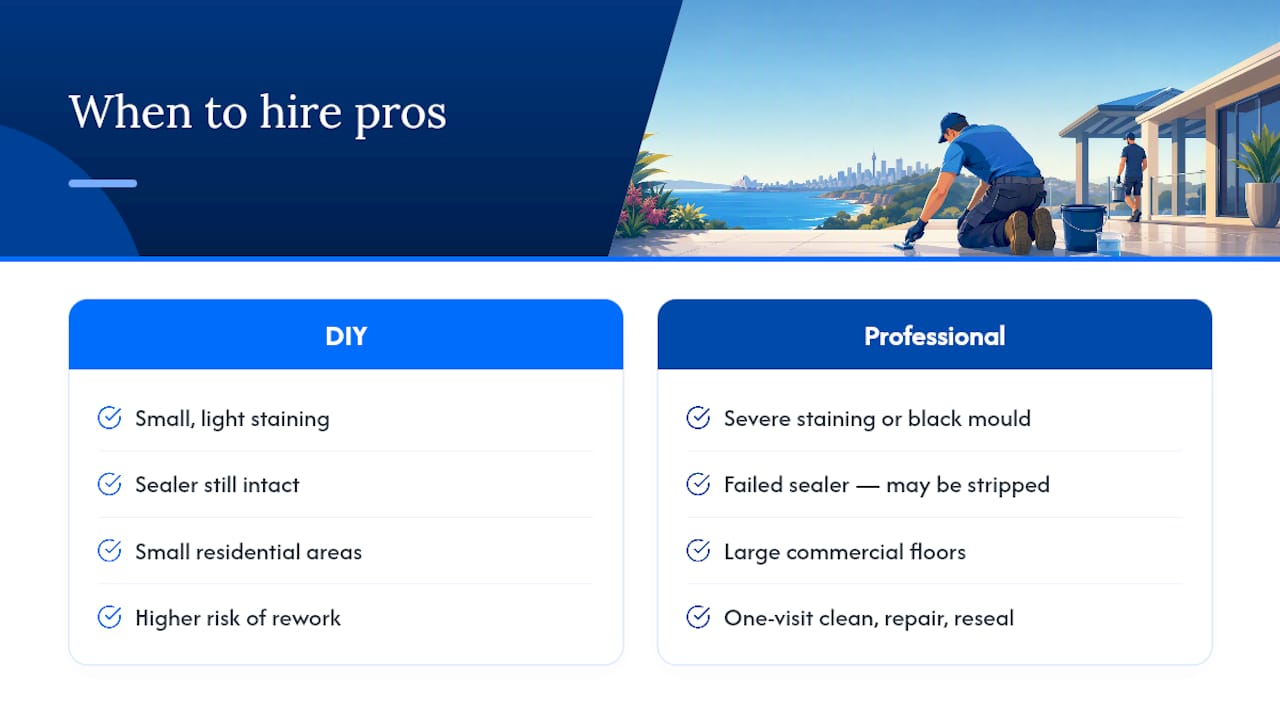
Severe staining, black mould in grout lines, a sealer that’s failed and needs stripping, or a large commercial floor are all situations where DIY tends to fall short. Grout Shields notes that professional deep cleaning often strips old sealer entirely, which is exactly why resealing within a day or two of a professional clean matters. Com’s tile and grout clean service uses eco-friendly, chemical-free methods with trained and insured technicians, and includes grout repair and a post-seal check as standard rather than an afterthought.
Before a professional visit, clear the area of mats and furniture, note any problem spots for the technician, and hold off on applying any DIY sealer yourself. A proper job means the crew inspects, cleans, dries, and reseals in one visit rather than leaving you to guess when it’s ready.
If your grout has reached the point where scrubbing isn’t shifting the grime, or a sealer job has already gone wrong once, Com’s tile and grout steam cleaning service handles the deep clean and prep work that makes any sealer actually stick. It’s a straightforward way to reset the surface before you commit to resealing it yourself, or to have the whole job, cleaning and resealing, done properly in one visit.
Why realistic drying times matter more than the sealer you buy
The sealer brand gets all the attention in this conversation, and it’s largely the wrong focus. The actual failure point, in nearly every case, comes down to two things: grout that wasn’t clean enough and grout that wasn’t dry enough. Get those right and almost any reputable penetrating sealer will perform.
Where I think most guides go soft is on drying time. “24 to 48 hours” gets repeated everywhere as if it’s a fixed rule, when it’s really a floor, not a target. A shower recess with no window and daily use needs closer to the upper end of that range, sometimes beyond it, and no amount of product quality fixes a sealer applied over trapped moisture.
The water-bead test deserves more credit than it gets. It’s the only step in this whole process that tells you, with certainty, whether the job worked. Skip everything else if you must, but never skip that. And if grout has already failed once, staining, mould, a sealer that never bonded, that’s the point to call in a professional rather than layering a second attempt over the same problem.
— Roney
Sources
- Does Grout Need to be Sealed | Mapei
- Grout sealer definition and how to apply it | The Spruce
- How to seal grout | Tile Doctor
- Grout sealer: what works and when you don’t need it | Just Seal It
